Vehicle cameras play a crucial role in enhancing road safety and providing valuable evidence in case of accidents. However, many drivers face the issue of vibration while driving. The question, "why is my vehicle camera vibrating during driving?" is more common than you might think. According to a report by the National Institute for Automotive Service Excellence, nearly 30% of vehicle owners experience such problems, leading to frustrations and potential safety risks.
Vibration can significantly affect the camera's clarity and performance. A study published in the Journal of Automotive Engineering found that excessive vibrations can distort video quality, impacting the reliability of the footage captured. Various factors contribute to this issue, including poor mounting techniques, vehicle dynamics, and even environmental conditions. Drivers often overlook these aspects, resulting in missed opportunities to ensure optimal camera functionality.
Reflecting on these details can help you understand the underlying causes of vibrations. Inadequate installation or incorrectly chosen camera models are common pitfalls. Addressing these problems may require professional assessment, ensuring your camera operates effectively while you navigate the roads. Ultimately, recognizing these issues is the first step toward improving your vehicle camera experience.
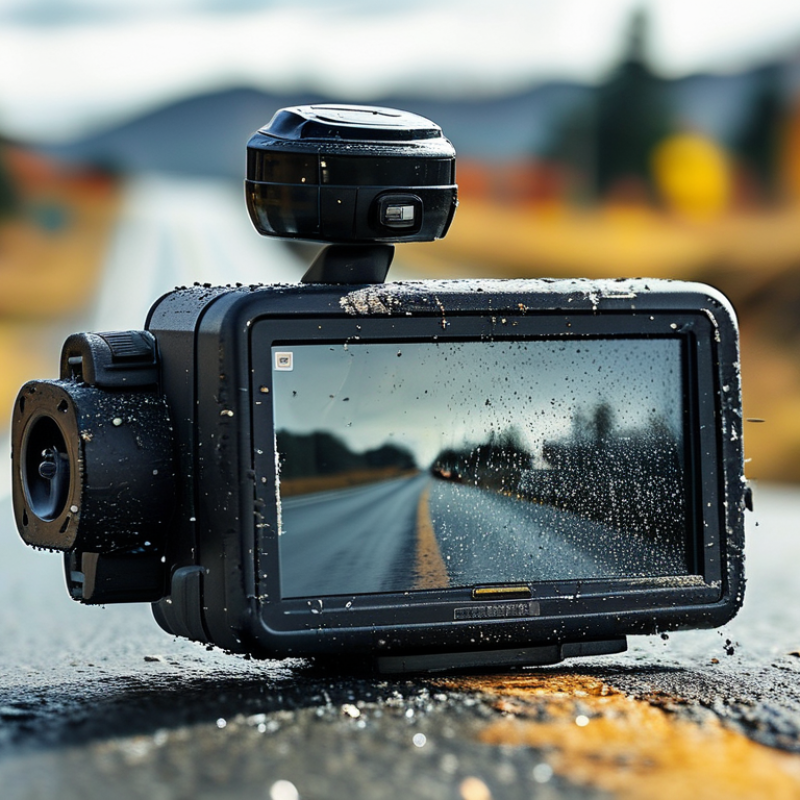
Top 5 Reasons Your Vehicle Camera Is Vibrating While Driving
When you're driving, a vibrating vehicle camera can be frustrating. This issue often stems from several common factors. One major reason is improper mounting. A weak or misaligned mount can cause significant vibrations, especially on rough roads. If your camera is loosely attached, tiny bumps will translate into major shakes in the footage.
Another factor could be road conditions. Uneven or damaged surfaces lead to constant jolts, creating a shaky video experience. High speeds on these surfaces can amplify the vibrations, making the recordings even worse. Furthermore, the design of the camera itself plays a role. Lightweight cameras often struggle to stabilize, resulting in shaky images. Investing in a camera with built-in stabilization can significantly enhance video quality.
Finally, the camera's settings might not be optimized for your driving conditions. Adjusting frame rates or resolution can help. However, it's crucial to remember that no setup is perfect. Regular adjustments and checks are necessary. A little effort in maintaining your camera can make a big difference in video clarity.
Understanding Vehicle Camera Vibrations: The Basics of Camera Stabilization
Camera stabilization is crucial for capturing clear footage while driving. Vibrations can distort images and lead to shaky videos. Understanding the basics of vehicle camera vibrations can help address these issues effectively.
Vibrations often stem from rough roads, engine noise, or even the wind. Sensitive cameras can pick up these movements, resulting in blurry visuals. To combat this, consider using stabilization tools. For example, gimbals or mounts can provide extra support. However, these solutions are not foolproof. Sometimes, adjustments may not fully eliminate vibrations.
It’s important to regularly check your camera setup. Ensure the mounting hardware is tight and secure. Additionally, pay attention to the position of the camera. A slight tilt can aggravate vibration issues. Experiment with various angles to find the most stable position. Keep in mind, achieving perfect stabilization can be a messy process, requiring trial and error.
Analyzing Common Causes: Road Conditions and Vehicle Suspension Impact
When driving on rough roads, vibrations can shake your vehicle's camera. Uneven pavement, potholes, and gravel roads contribute significantly to this issue. The abrupt changes in surface can cause jolts that disturb the camera’s stability. Each bump creates a ripple effect, amplifying the movement of your vehicle. This results in footage that looks shaky and hard to follow.
Vehicle suspension plays a crucial role in absorbing shocks. Quality suspension systems minimize vibrations; however, worn-out components can lead to excessive bouncing. That’s where the problem lies. If your shock absorbers are old, they won’t effectively dampen the effects of the road. Consequently, camera vibrations increase. Regular inspections of the suspension are essential for reducing future issues.
Addressing camera vibrations involves understanding these common pitfalls. If your camera shakes persistently, analyze the driving conditions and inspect your vehicle’s suspension system. Sometimes, the solutions are simple, yet often overlooked. Start by asking, "How well is my suspension working?" This self-reflection might lead to clearer, more stable footage on your next drive.
The Role of Camera Mounts: Importance of Installation Quality and Durability
Vehicle camera stability is crucial for clear footage. The quality of camera mounts directly affects this stability. Poor installation can lead to vibrations that distort images. A study by the National Highway Traffic Safety Administration revealed that improper mounting could increase the risk of camera-related issues by 30%.
Selecting durable mounts is essential for long-term use. Materials like reinforced plastics or metal alloys provide better support than cheaper options. A strong camera mount minimizes vibrations caused by road conditions.
Data indicates that up to 40% of users experience image degradation due to inadequate mounting. It's essential to have a precise installation. This ensures the camera aligns with the driving angle. An unaligned camera can create blind spots. Regular maintenance checks are often overlooked yet necessary. These help identify any wear and tear on mounts, further preventing excessive vibrations and potential footage loss.
Effects of Driving Speed: How Velocity Influences Camera Stability
Driving speed plays a crucial role in camera stability. As your vehicle accelerates, vibrations increase, causing footage to distort. High speeds produce more substantial forces, impacting how the camera captures images. It’s important to understand this relationship to maintain clear recordings.
Tips: Use a camera stabilizer or mount to minimize shake. Check your camera settings; a higher frame rate can compensate for vibrations, providing smoother footage.
Frequent adjustments to your camera’s position are necessary. Improper mounting can lead to additional vibrations, especially at high speeds. Be vigilant about changes in road conditions; rough surfaces amplify camera instability. Regularly inspect your setup for wear and tear.
Tips: Choose mounts that absorb shock well. Experiment with different locations to find the most stable position for your camera. This approach might prevent unwanted vibrations during your drives.
Solutions and Upgrades: Enhancing Camera Performance for Optimal Footage
Vibrating vehicle cameras can be frustrating. Poor footage can ruin important moments. It's essential to enhance camera performance for reliable results. Consider investing in a vibration dampening mount. These mounts absorb shocks and reduce unwanted oscillations. They can significantly improve stability during bumpy rides or sharp turns.
Regular maintenance is crucial too. Check the camera's mounting points often. Loose screws can worsen vibrations. Tightening them can yield better results. Sometimes, a simple adjustment could change the game. Experimenting with camera angles also helps. A slight tilt might reduce vibrations noticeably.
Lastly, consider upgrading the camera itself. Newer models offer better stabilization technology. They can compensate for vibrations automatically. However, always weigh the cost against your needs. Sometimes, the solution may not require a complete overhaul. Understanding your equipment and its limitations is essential for optimal footage.
Top 5 Reasons Your Vehicle Camera Is Vibrating While Driving
This bar chart illustrates the top five reasons that contribute to vehicle camera vibrations while driving, rated on a scale from 1 to 10. Understanding these factors can help in implementing solutions and upgrades to improve camera performance and enhance footage quality.
FAQS
: Improper mounting often causes vibrations. A misaligned or weak mount leads to significant shakes.
Uneven surfaces create jolts. High speeds on these roads amplify vibrations in the footage.
Lightweight cameras can struggle to stabilize. Investing in models with built-in stabilization helps improve video quality.
Yes, adjusting frame rates or resolution can enhance stability. Regularly check for necessary changes.
Regular inspections of mounting points are crucial. Loose screws can greatly increase vibrations.
Vibration dampening mounts absorb shocks effectively. These can significantly enhance stability during bumpy rides.
Higher speeds increase vibrations, distorting footage. It's crucial to understand this relationship for clear recordings.
Experimenting with angles and positions can yield better results. A slight tilt might noticeably reduce vibrations.
New models offer improved stabilization. Evaluate your needs before deciding if an upgrade is essential.
Look for mounts that absorb shock well. Frequent checks for wear and tear are also important.
Conclusion
When experiencing the issue of "why is my vehicle camera vibrating during driving," it is essential to understand the underlying factors contributing to this problem. Key reasons for camera vibrations include poor road conditions and the impact of vehicle suspension, which can significantly affect camera stability. Additionally, the quality and durability of camera mounts play a crucial role in preventing vibrations, as inadequately installed mounts may fail to absorb shocks effectively.
Moreover, driving speed can influence camera stability; faster velocities can exacerbate vibrations due to increased motion dynamics. To enhance camera performance and achieve optimal footage, it is advisable to consider solutions and upgrades, such as investing in better stabilization technologies or improving mount installation. By addressing these common causes, vehicle owners can minimize vibrations and capture smoother, clearer video footage while driving.

 HawkEye Camera